Install the add-on, connect ComfyUI, and save your preferences. Follow the steps below, or watch the installation walkthrough.
Watch the installation video
1. Download Texturaizer
Download the add-on from Gumroad or Superhive. Keep the downloaded .zip file zipped.
2. Install in Blender
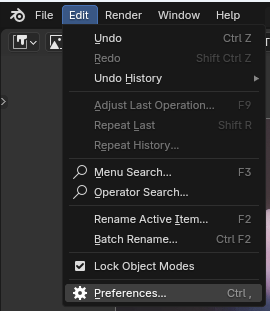
Open Preferences
In Blender, choose Edit → Preferences.
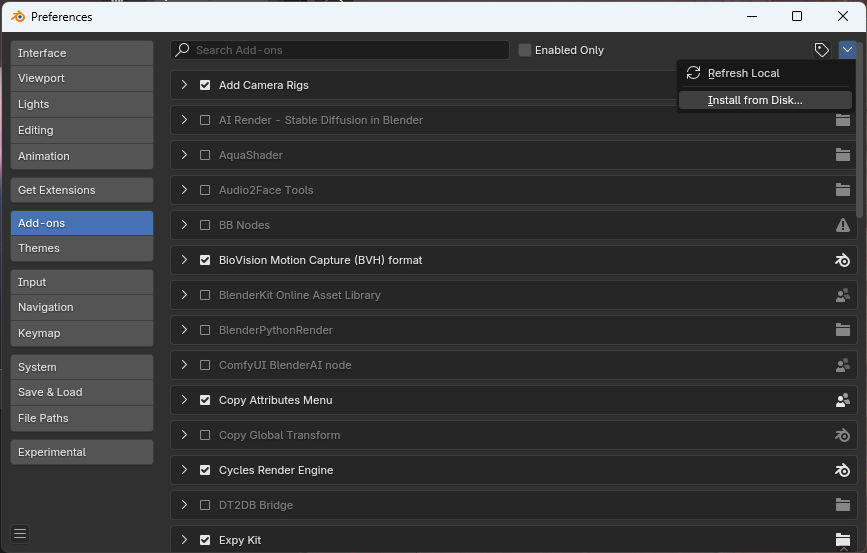
Install from Disk
Select Add-ons, open the menu in the upper-right corner, and choose Install from Disk. Select the downloaded .zip file and click Install Add-on.
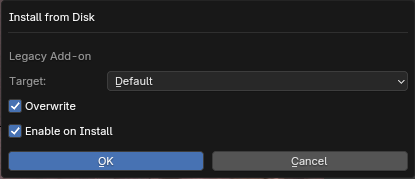
Confirm installation
Keep Enable on Install selected, then choose OK to finish.
Shortcut: You can also drag the downloaded .zip file into the Blender scene to open the installation prompt.
3. Enable the add-on and install dependencies
Open the add-on’s preferences to enable Texturaizer and install its required Python packages.
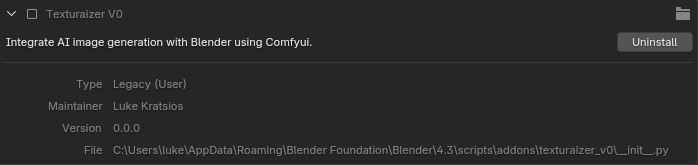
Enable Texturaizer
Check the box beside “Texturaizer V0” in Blender’s add-on preferences.
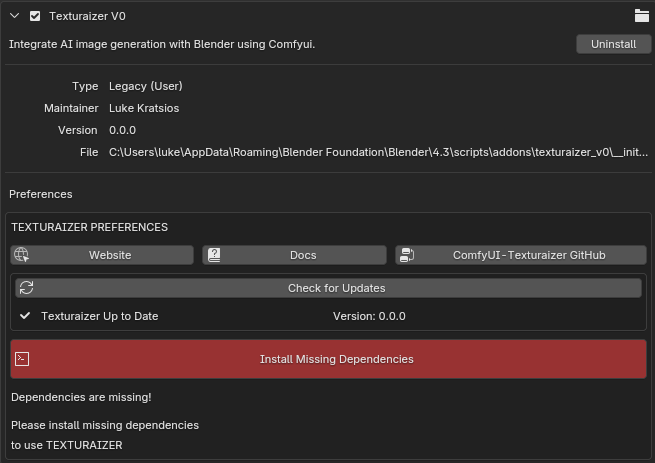
Install dependencies
If prompted, click Install Missing Dependencies. To follow progress, open the Blender console before clicking Install. Installation may take a few minutes, and Blender’s interface may freeze while it runs.
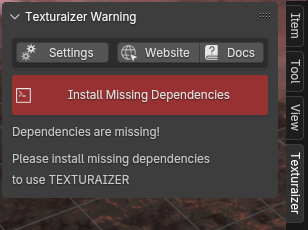
3D View reminder
The missing-dependencies warning can also appear in Texturaizer’s 3D View panel. It refers to the same required Python packages.
4. Connect ComfyUI
ComfyUI can run on your computer or on a remote server. If you haven’t installed it yet, follow Getting Started with ComfyUI.
In Texturaizer’s preferences, choose the setup you use below.
Where to find the connection settings
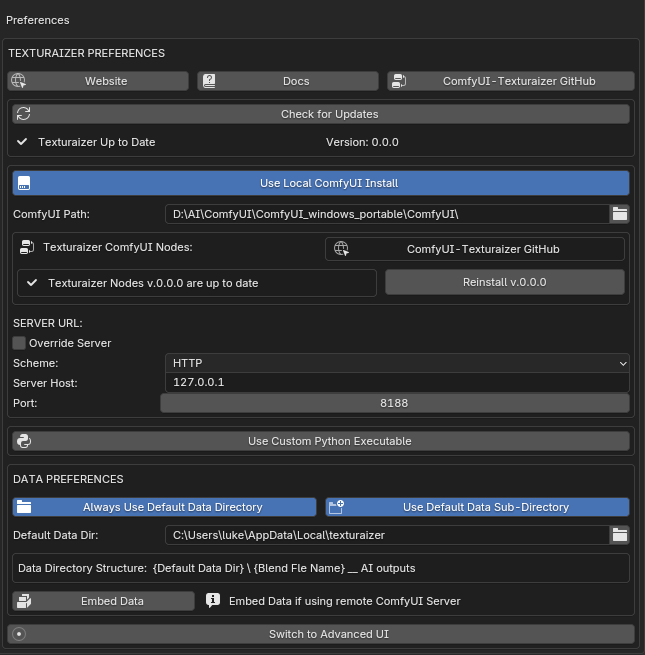
Local setup — ComfyUI on this computer
- Leave Use Local ComfyUI Install enabled (blue).
- Set ComfyUI directory to your local installation folder. Choose the folder containing
main.py.
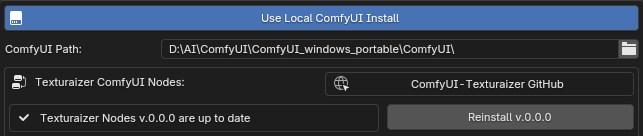
This connection lets Texturaizer start the local server and update its ComfyUI nodes directly.
Remote setup — ComfyUI on another server
- Disable Use Local ComfyUI Install.
- Enter the connection details for your ComfyUI server.
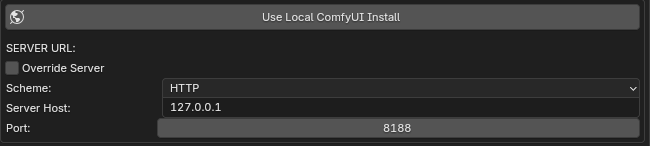
| Setting | What to enter |
|---|---|
| Scheme | HTTP or HTTPS, as required by your server. |
| Server Host | Your remote server’s hostname or address. The default 127.0.0.1 points to your own computer. |
| Port | Your server’s port. The default is 8188. |
If the server address changes, use Overwrite Server in Actions Panel Settings to override it.
Optional settings — Python and saved data
Custom Python executable
Use this if your local ComfyUI installation’s Python executable is in a nonstandard location. Without an explicit path, Texturaizer looks in the ComfyUI directory, then falls back to the system’s Python.
Where your data is saved
Texturaizer normally saves JSON files and input/output images in a folder associated with each Blender file. Unsaved Blender files use the default data directory.
- Always Use Default Data Directory
- Save beneath the default data directory in a subfolder named after the Blender file, instead of beside the Blender file.
- Use Default Data Sub-Directory
- The subdirectory used for data from unsaved Blender files.
- Default Data Dir
- The default location for data from unsaved Blender files.
For a complete settings reference, see Addon Properties Panel.
5. Save your preferences
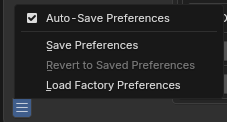
Choose Save Preferences, or enable Auto-Save Preferences, so your configuration is kept.